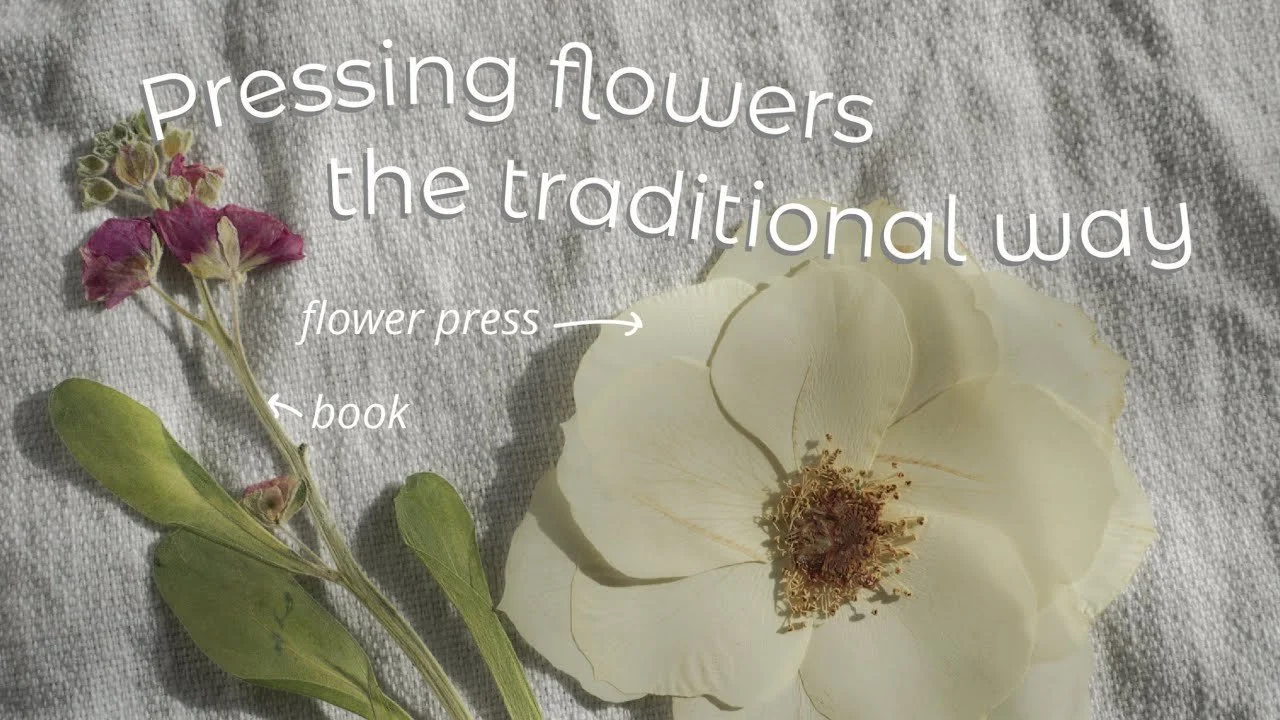
How to press flowers the traditional way– using a book or flower press
Pressing flowers is an age-old method to preserve flowers and foliage by putting fresh botanicals under pressure until all moisture has been removed. Before the wonderful invention of the microwave, flowers were typically pressed in books or a flower press. I'll be showing you how exactly how to do that!
How to press flowers using a book
1.Choosing your book
Choose a book that has non-glossy pages– a bonus if it’s old too! Pressing flowers in a book could potentially warp and stain the pages, so make sure it’s a book you’re not too attached to.
2.Choosing and placing your flower
Typically flowers that are thinner and/or have less layers will have a higher chance of pressing well. If you want to press a thicker flower e.i a rose, you can take some of the inner petals out so that your flower has less of a chance to mold or brown.
Place your flower near the back of the book and roll the pages over making sure the way your flower is being sandwiched is how you want its final position to be. *Tip- You can fold a piece of scrap paper in half and slide it into the book so you’re not messing up your book!
3.Stack and wait
Find a safe space where you can leave your book for weeks. Find some other books that you won’t be using soon or weight and stack them onto the book with your flower. You’ll want to check up on your flower every few days. If you see the page is moist, simply move your flower to a fresh set of pages! Ta-da, easy peasy!
How to press flowers using a flower press
Which type of flower press do I get?
You may see two versions of a flower press, one using a system of bolts and nuts for each corner of the press, the other using straps. Both systems work similarly to press flowers, they distribute even pressure on the flowers over a long period of time to draw moisture out. The press using bolts and screws is a bit more tedious to use since you’ll have to line up the holes on each corner of the press to the bolt and screw the wing nut to your desired depth. But I prefer this system because it allows me to incrementally tighten the press easily. If you know you’ll only be pressing a few flowers and you know those flower will be thin, then the flower press with the strap is beginner and user friendly.
1.Set up your press
The bottom layer of your press should be: bottom piece of the press, cardboard, blotting paper (this can be the paper your press came with, white construction paper or scrap paper), then your flower. *Tip- to avoid the lines of the corrugated cardboard imprinting on you flower, use lots of scrap paper between your flowers and the cardboard.
2.Lay down your flowers
You’ll want to lay flowers of similar thickness on the same layer, this will help the pressure distribute evenly on your flowers.
3.Sandwich your flowers
Each flowers layer should be sandwiched by paper and then cardboard. The paper is the material that absorbs the moisture and the cardboard helps ventilate it.
4. Repeat to your hearts desire (or until your flower press is full)
5.Tighten your press
Once your flowers are all tucked inside the press, you’ll want to tighten with just a little bit pressure. If you tighten it too much in the beginning you’ll risk breaking your flowers. The next day, tighten the press a little more and then a little more the day after. Pressing flowers is a meticulous process and can’t be rushed. So take your time, enjoy the process and experiment!
Until next time, take care. Happy pressing!


