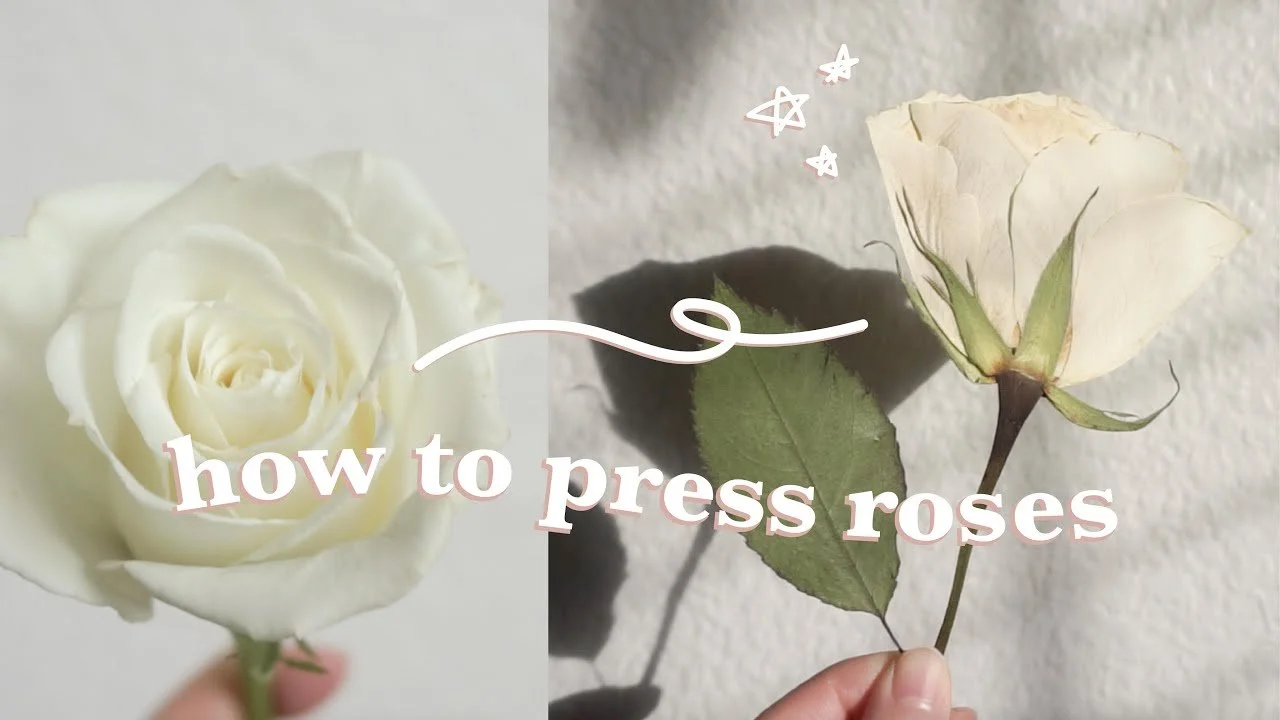
How to press roses (easy-to-follow instructions) +Freebie
Preserving the beauty of flowers is a timeless art form that allows us to capture nature's elegance and create lasting memories. In this blog post, we'll delve into the fascinating world of pressing flowers, focusing on the enchanting process of transforming fresh roses into beautiful pressed blooms. Whether you're a nature enthusiast or a creative soul, this step-by-step guide will equip you with the knowledge and techniques to create your own pressed flower masterpieces. So, let's embark on this floral journey together!
The first method we'll explore is pressing roses in profile, where the flower retains its side-view appearance.
Method 1: Pressing Roses in Profile
Fluff up the petals: Gently wiggle your fingers around the rose petals, starting from the outermost layer and working your way inward. Be careful and delicate in your approach.
Remove inner petals and reproductive parts: Using your thumb and index finger, pinch away the central petals and reproductive parts of the rose. This step ensures a clean and visually appealing pressed rose.
Position the rose in the press: Lay the prepared rose flat on your press and roll over the top layer of paper. Close the press gently, exerting light pressure. Gradually increase the pressure over time to keep the rose intact.
Method 2: Pressing Fully Opened Roses
Prepare the rose: Follow the same fluffing technique described earlier to enhance the appearance of the petals. However, this time leave the reproductive parts intact.
Press petal by petal: Carefully remove each petal, giving them individual space on the press. The number of petals you choose to press will determine the layers in your final pressed rose. Start with the largest petals and work your way up to the smaller ones.
Assemble the rose: Once all the parts are pressed, remove the sepals, leaving only the center of the rose. Begin the meticulous process of gluing each petal back onto the center. Start with the larger petals and gradually attach the smaller ones.
To document your pressed flower collection, we've prepared a convenient guide for you to download. This printable guide allows you to track the flowers you press, their pressing methods, and the dates they were pressed. You can also make notes on each flower, personalizing your archive and capturing your unique experiences. The art of pressing flowers is an personal journey, and there's no right or wrong way to do it. This guide simply serves as a helpful starting point to discover your preferred methods and techniques. Remember to explore, experiment, and let your creativity flourish as you embark on your own floral preservation adventure.
Download the FREE Pressed Flower Guide here!
Stay tuned for part two, where we'll delve into pressing less-than-fresh flowers. Until next time, take care and happy pressing!


